You signed up for Dynamic Coupons and connected your store, now you have all the resources you need to use them as a growth tool. But how? It can be overwhelming to chose your first workflow so we will give you some ideas of the first workflows you can optimize them with coupons.
First step is discovering which segments of your customer base will be reached by this workflow and what will be your goal.
Abandoned cart workflow for new customers
For this example we will build a workflow for abandoned carts, but only for new customers, not recurring ones. The goal here is to get them to complete their purchase by giving them a discount coupon.
Create your first coupon rule
Sign into your Unific Portal and navigate to the Dynamic Coupons tab on the left. Remember, our free plan enables one rule with unlimited send outs while our Growth Plan offer usage based cost with as many rules as you may need.-
- The rule we will create is a 20% discount for new shoppers in their entire cart with will remain active for up to 15 days. This timing feature is one the most powerful of our Dynamic Coupons App.
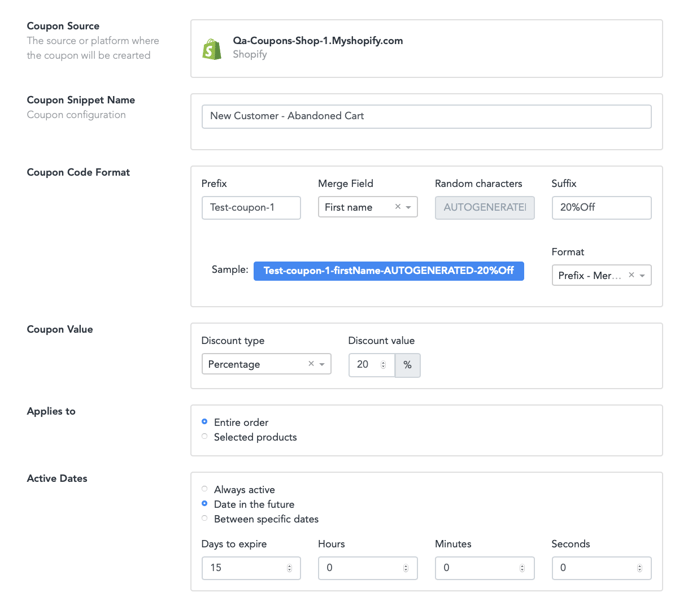
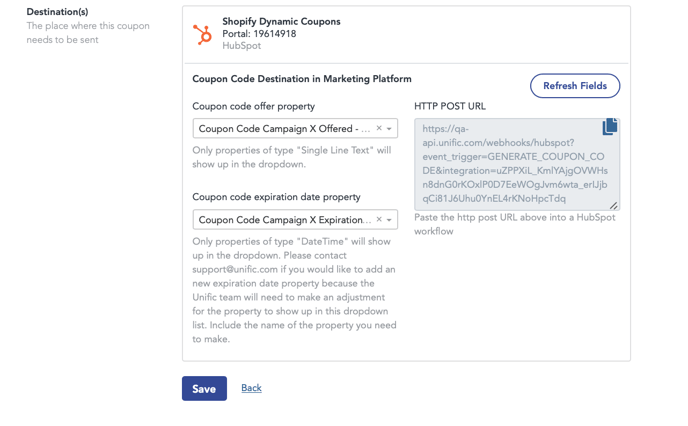
*Be sure to assign coupon code and coupon expiration date properties so you can find them in Hubspot. By default they are as shown:
Write an automated email
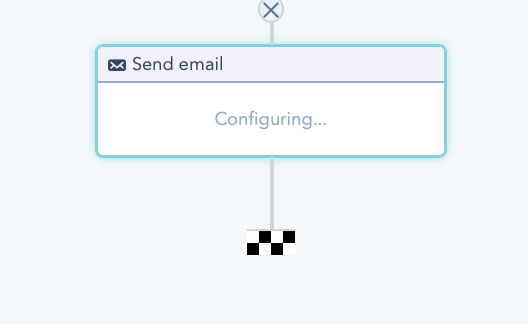
1. Go to Marketing tools and create a new automated email (if it is not automated, you will not be able to use it in a workflow)l with a personalized token that includes the Coupon Code property and the expiration date property. This could be part of a larger workflow with several emails.
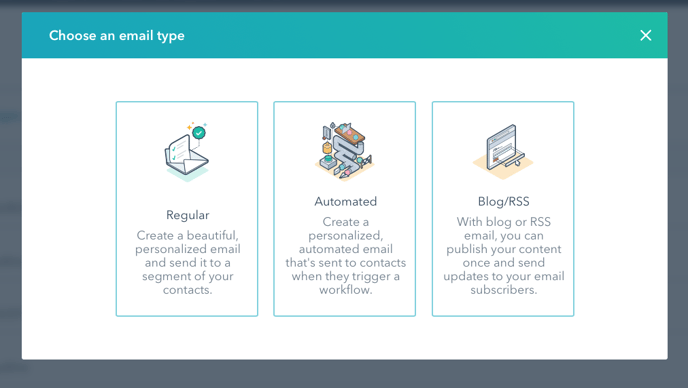
2. Write a second email which will serve as a reminder that they have a coupon code they haven’t used and its expiration date.
Create the workflow in HubSpot
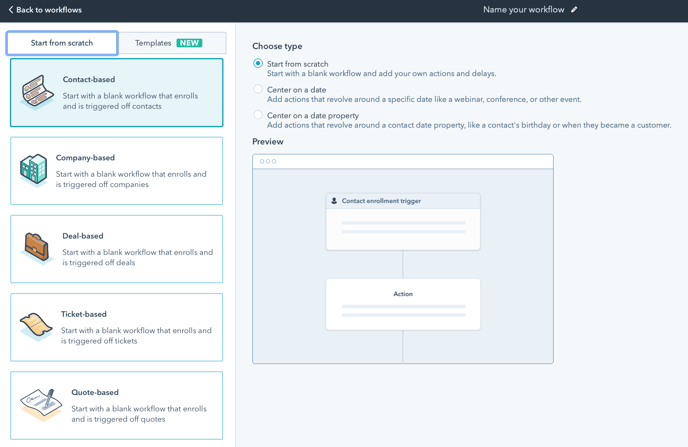
- Sign into your HS account and navigate to the automation tab on the top bar, and then click on workflows.
- Choose to create a new contact based workflow.
3. Let’s define the trigger. In this case it is a Contact Property for Abandoned Cart Date. If you use any other integration, be sure to find the correct property beforehand.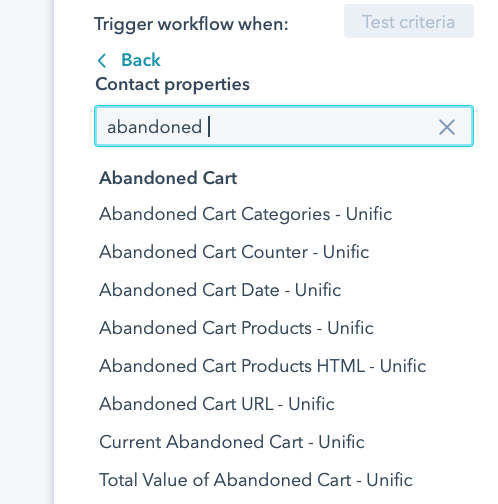
4. Ideally, you have a couple of workflows with abandoned cart emails already set, this way, the discount is offered on a second or third contact point. You can find our abandoned cart guide here.
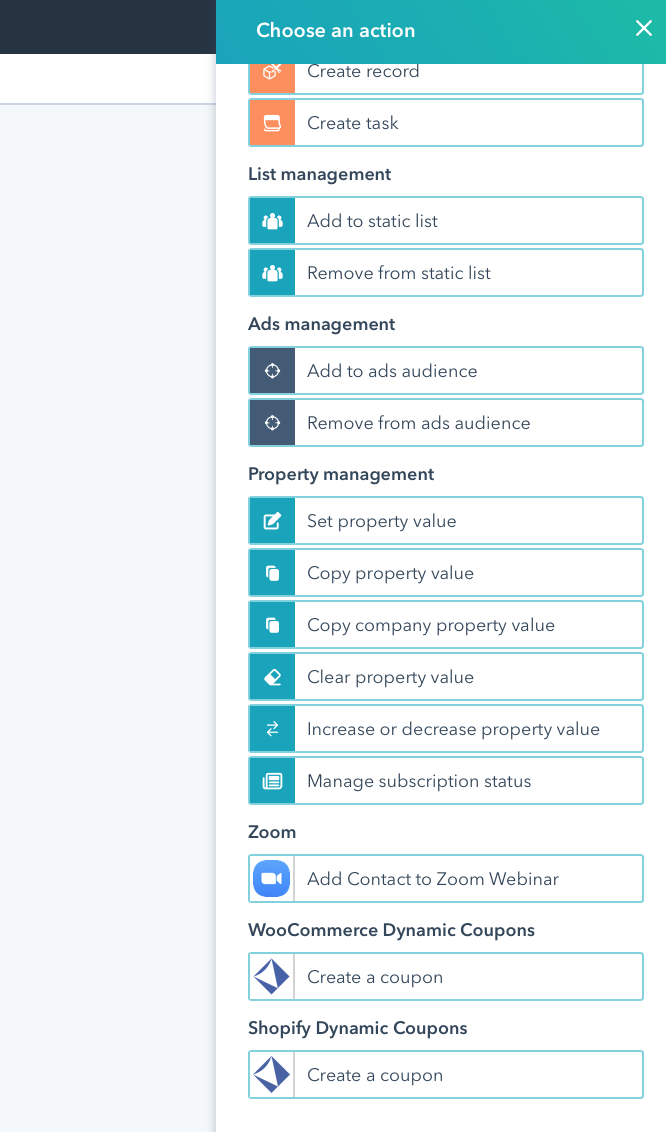
5. The next step in our workflow is to set the action Create a Coupon which you will find at the bottom of the right panel. This is when our gears get working and the unique coupon code is created and synched.
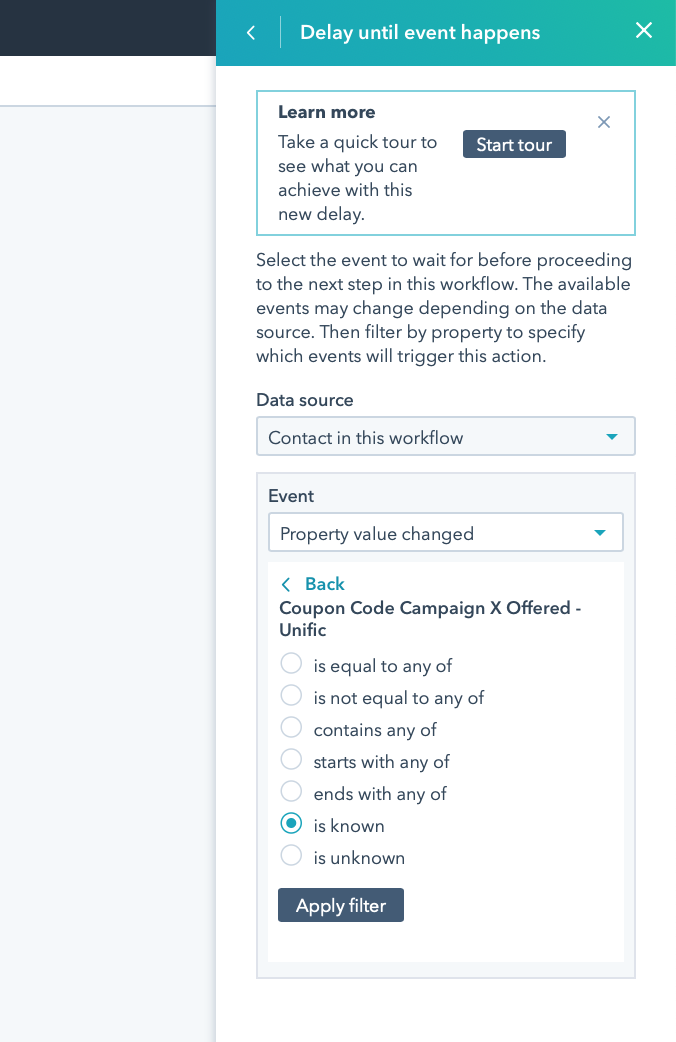
6. For a best use recommendation the next step is to set an action as 'Delay until event happens'. In this case the event is a property value change, specifically the property "Coupon Code Campaign X Offered - Unific" or whatever property you chose to hold this value, is known before sending the email with the code. This way you can make sure the code has been created and synched successfully every time.
That’s it! You have successfully created a coupon code using only workflows from HubSpot. Now, anytime a customer fits your trigger criteria a coupon will be created, synced and sent automatically.